The polar coordinates effect in After Effects is a useful tool that turns straight lines into circles and circles into straight lines. It remaps your footage from a rectangular grid into a radial layout. This simple shift opens the door to tunnels, tiny planets, looping music visuals, and abstract transitions.
In this guide, you will learn what the polar coordinates effect does, where to find it, and how each setting works. We’ll also walk through practical examples step by step. By the end, you’ll know how to use the polar coordinates effect in After Effects to create bold visuals for your next project.
Where to find Polar Coordinates in After Effects
To apply the polar coordinates effect, open your Effects & Presets panel. Then, navigate to Effects > Distort > Polar Coordinates and drag it onto your chosen layer.
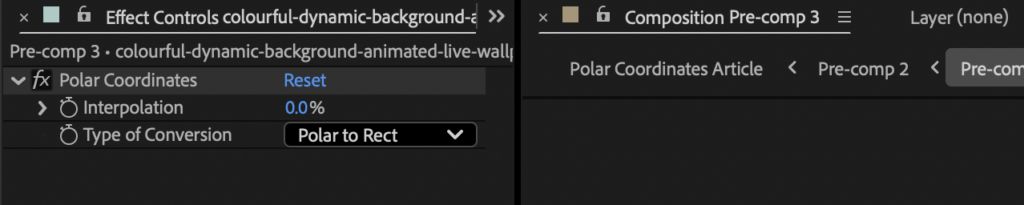
Once applied, open the Effect Controls panel. You will see two main settings:
- Interpolation, with its value slider
- Type of Conversion, with the option to choose either Rect to Polar or Polar to Rect
That is it. The polar coordinates effect in After Effects has a simple interface. Its power comes from how it transforms pixel positions across the frame.
Understanding Interpolation Modes
The Interpolation setting controls how the polar coordinates effect in After Effects remaps your image. There are two modes, and each one produces a very different result.
Rect to Polar
This is the most common option used for polar coordinates. The Rect to Polar mode converts a rectangular image into a circular layout. The top of your frame becomes the center of the circle, while the bottom of the frame wraps around the outer edge. Horizontal lines curve into rings. Vertical lines stretch into radial spokes.
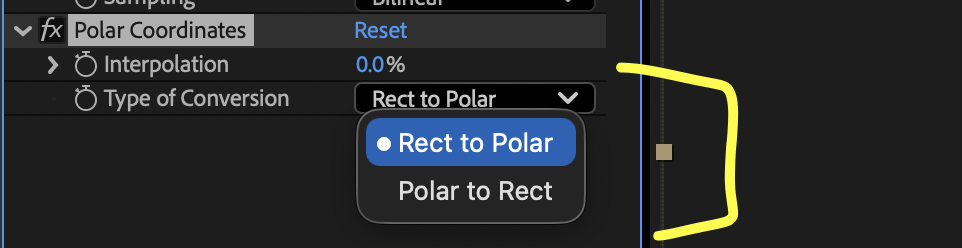
Set Type of Conversion to Rect to Polar and move the Interpolation slider to 100%. You will see your frame bend into a circle instantly.
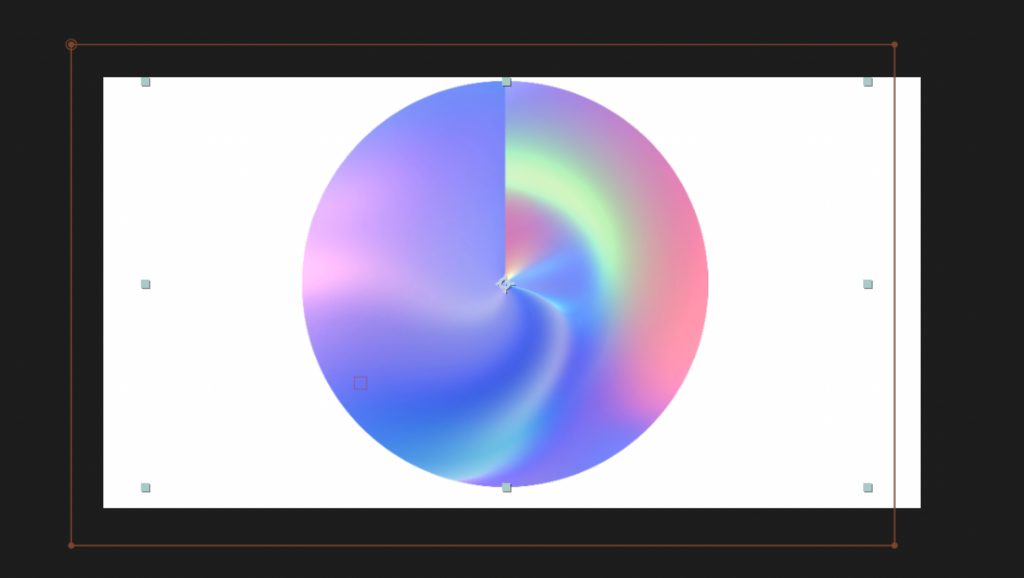
This mode works great for tunnel effects. It also creates looping visuals from landscape footage. Wide shots of roads, skylines, and light streaks work especially well. The more horizontal detail you have, the stronger the circular transformation feels.
Polar to Rect
The other conversion type does the opposite of the last effect. Polar to Rect takes circular imagery and flattens it back into a rectangle. If you feed it circular graphics, you can unwrap them into straight layouts. This helps when working with distorted stock clips or graphic elements.
Set Type of Conversion to Polar to Rect and move the Interpolation slider to 100%.
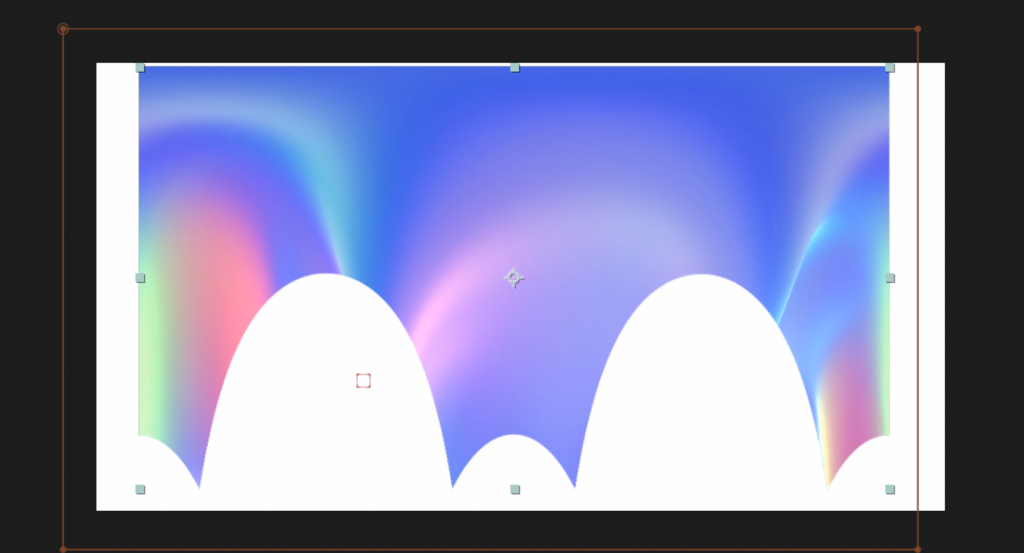
Polar to Rect works well for abstract transitions, fixing pre distorted radial assets, unwrapping circular logos, and creating animated wipes.
How to use the Polar Coordinates effect
The best way to understand the polar coordinates effect in After Effects is to build real examples. Below are some creative projects you can follow step by step.
Creating a tiny planet effect
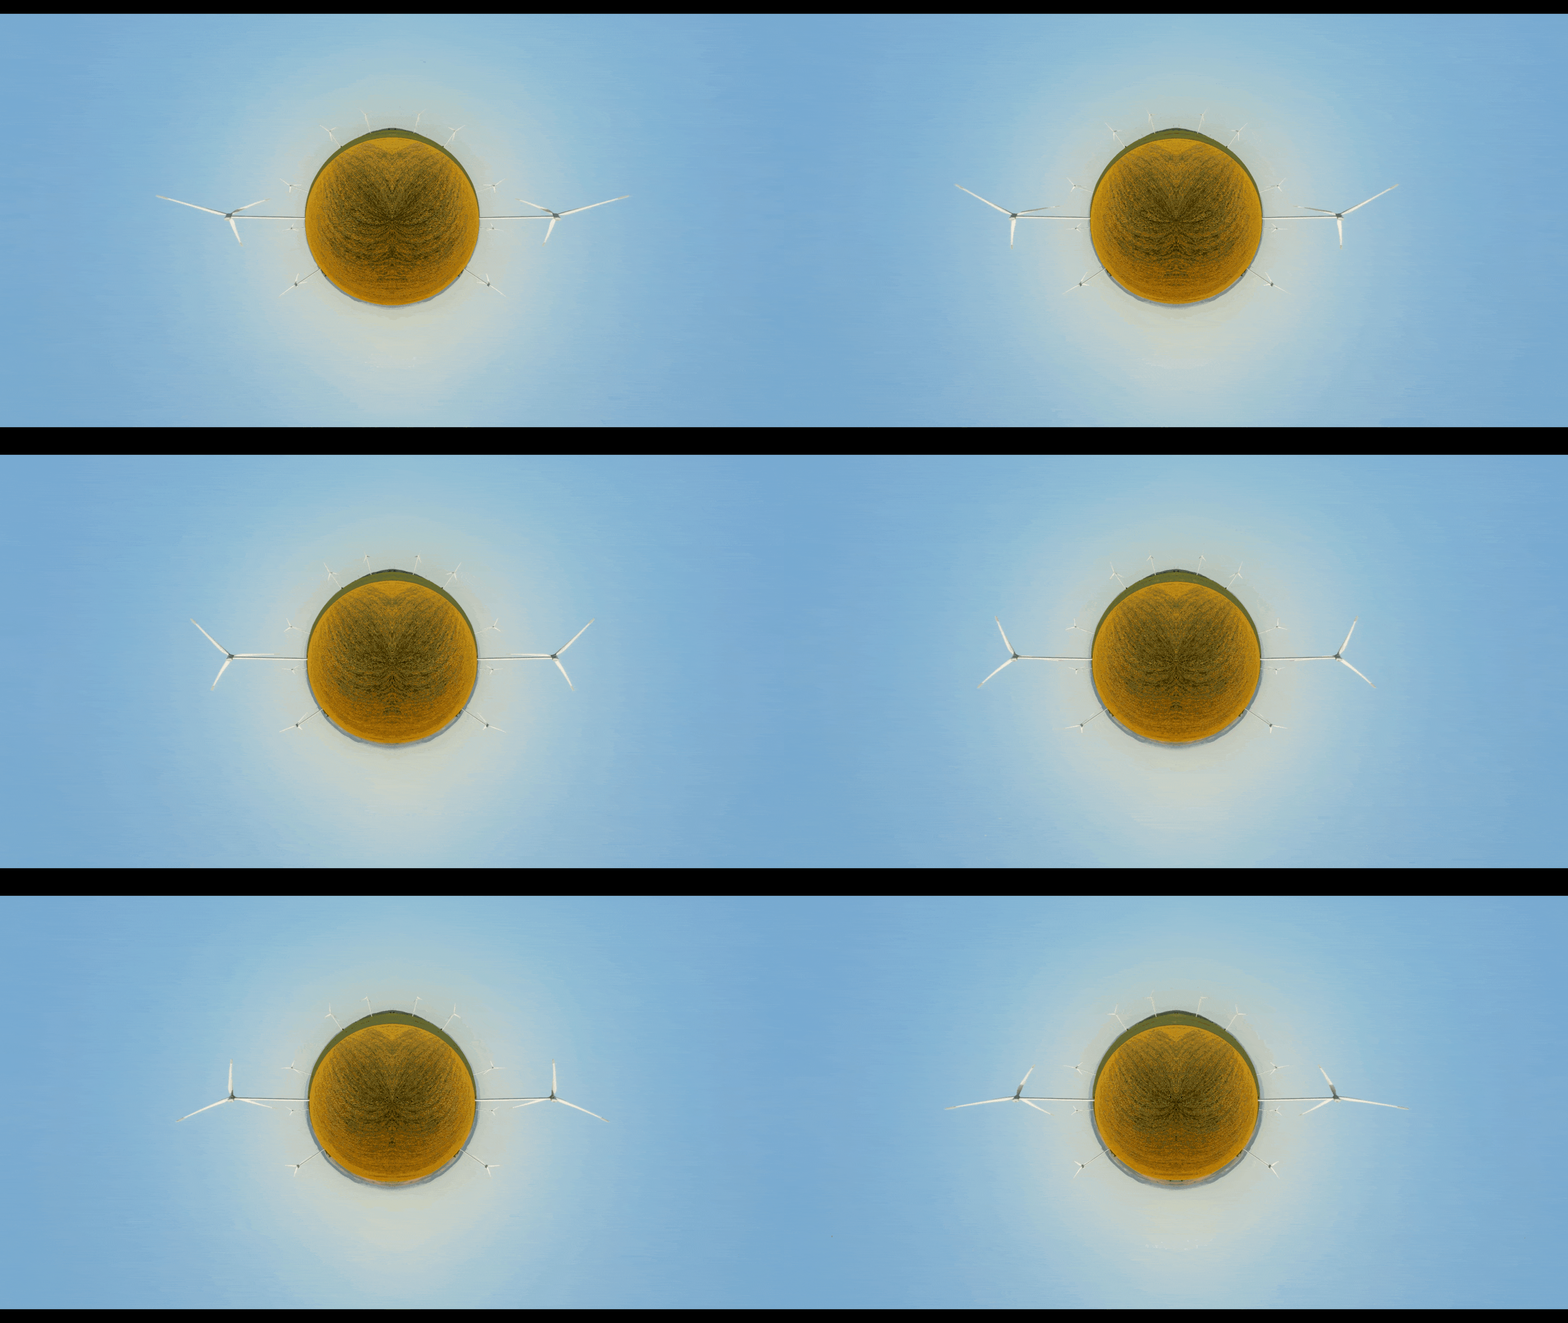
The tiny planet effect remains one of the most popular uses of the polar coordinates effect in After Effects. Normally, you can get this effect easily if you shoot your footage with a 360 camera, which automatically gives you a laid out “360” image that lets you distort and tweak it to fit whatever shape you want.
But let’s say you are wanting to create the Tiny Planet effect without having shot with a 360 camera. This is where the Polar Coordinate effect comes in handy for editors.
1. Import your clip and add it in a composition
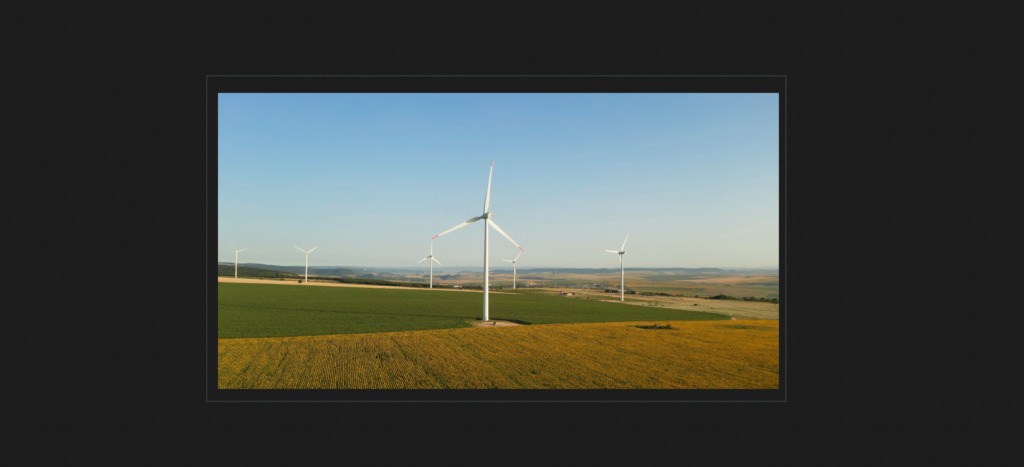
First,import a wide panoramic image or aerial drone clip. Place it in a composition that matches the footage size.
2. Duplicate your clip, flip it, and place it next to your first clip
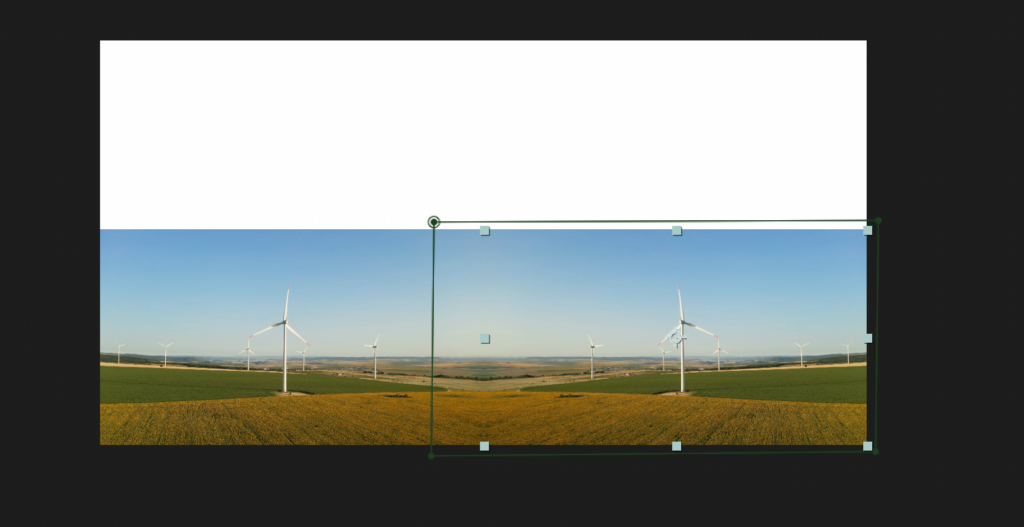
Next, you need to duplicate your clip. Select it in the timeline, then press Ctrl+D (Cmd+D on Mac). Now you need to flip your duplicated clip – right-click your layer, select Transform, then choose Flip Horizontal.
Then scale your clips down so that they both fit in the shot. Place the duplicated clip next to your original clip in your composition.
3. Blend your two clips with a mask
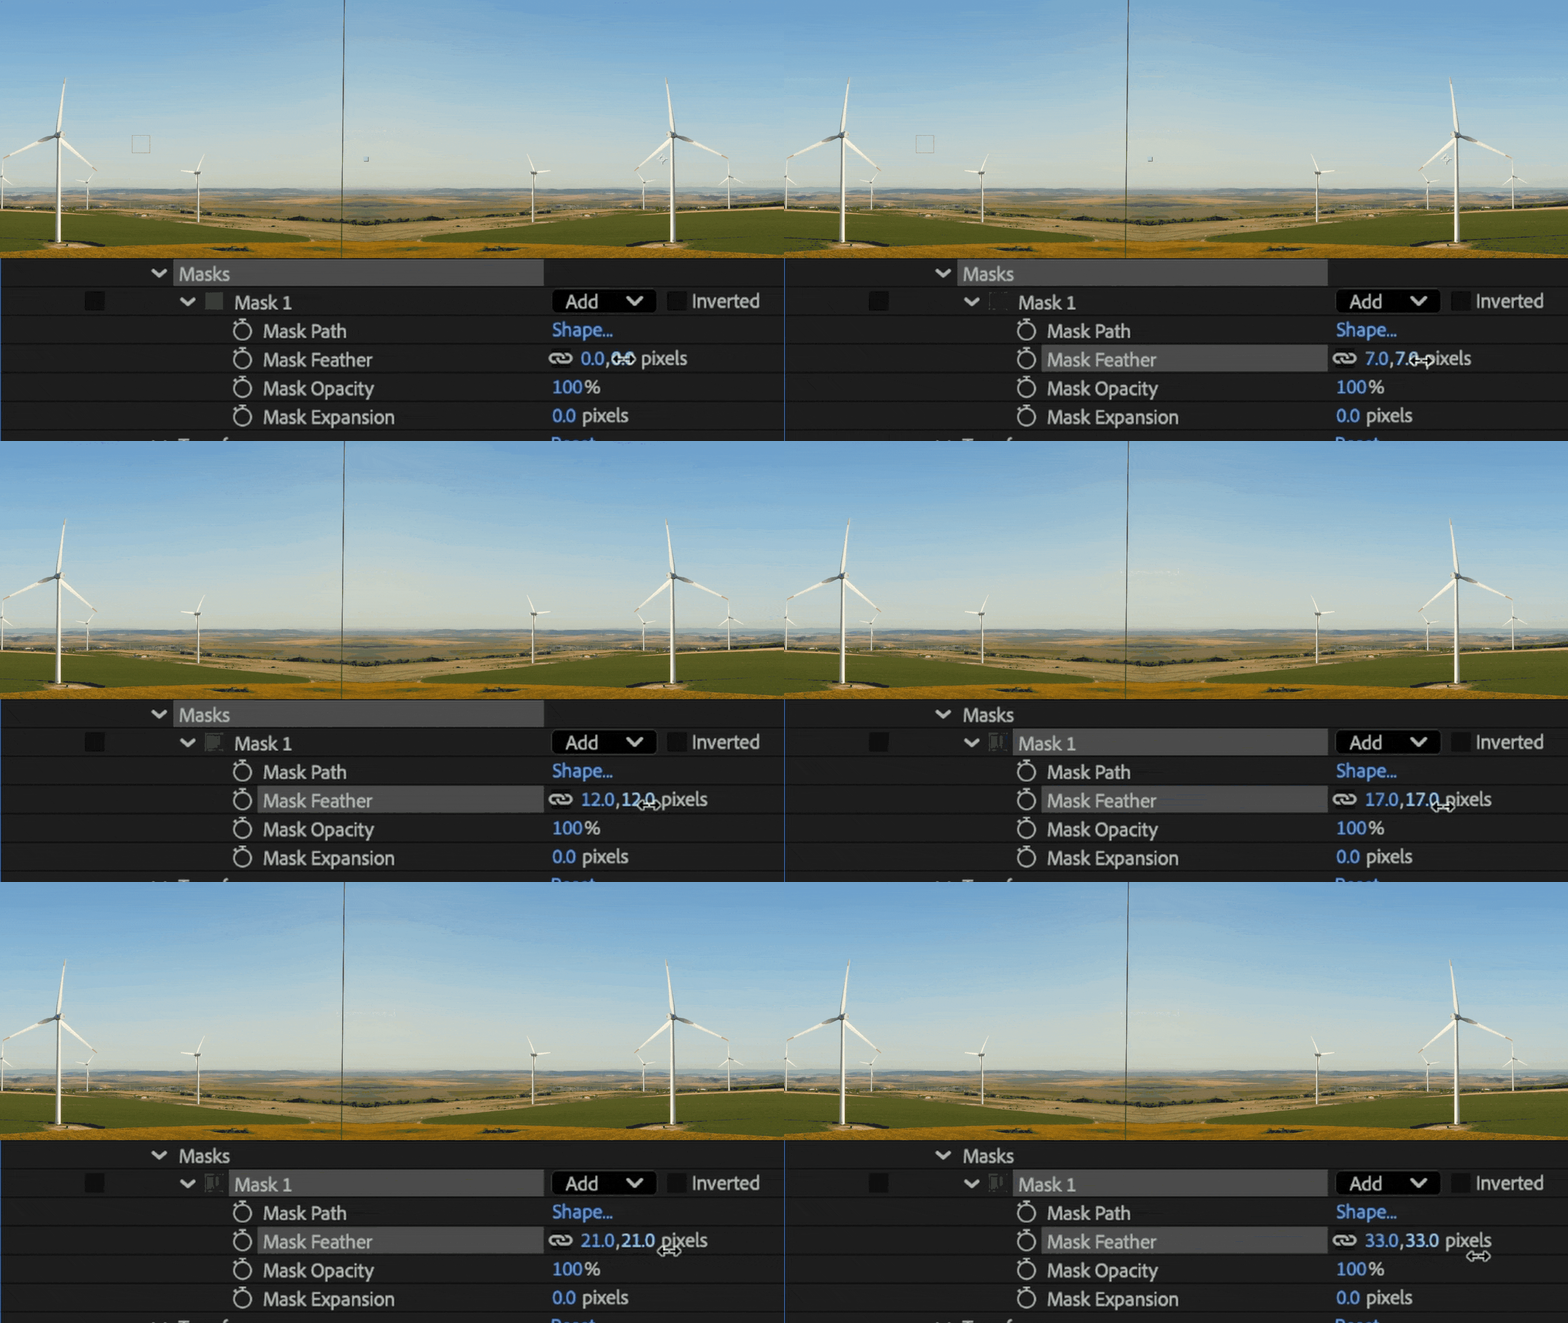
To blend the two clips, apply a Mask to the middle section where they meet and then increase the Mask Feather amount. Once you’ve done this you can pre-compose the two clips.
4. Apply the Transform Effect and rotate your layer 180 degrees
Next you can apply the Transform Effect from the Effects & Presets panel by dragging it onto your layer. Then, rotate the layer 180 degrees using the Rotation setting as directed in the screenshot above. This places the sky at the bottom of the frame.
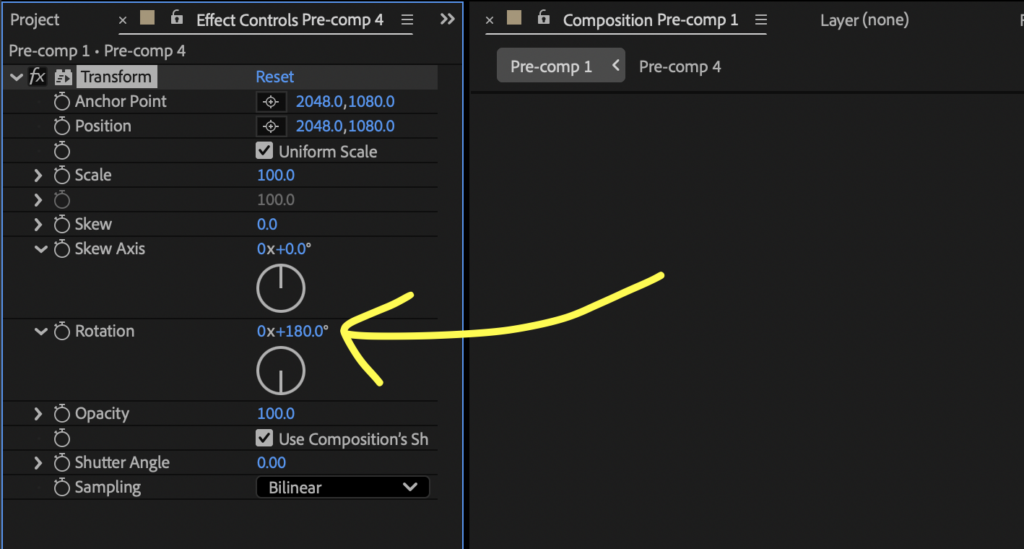
Side note: The Transform effect has to be before the Polar Coordinates Effect, otherwise the effect wont work.
5. Apply the Polar Coordinates effect with a Rect to Polar conversion
Now it’s time to apply Polar Coordinates. Open your Effects & Presets panel and navigate to Effects > Distort > Polar Coordinates, dragging it onto your chosen layer. Under Type of Conversion, choose Rect to Polar and set the Interpolation to 100%. This will wrap the horizon into a sphere, where the ground forms the center and the sky surrounds it.
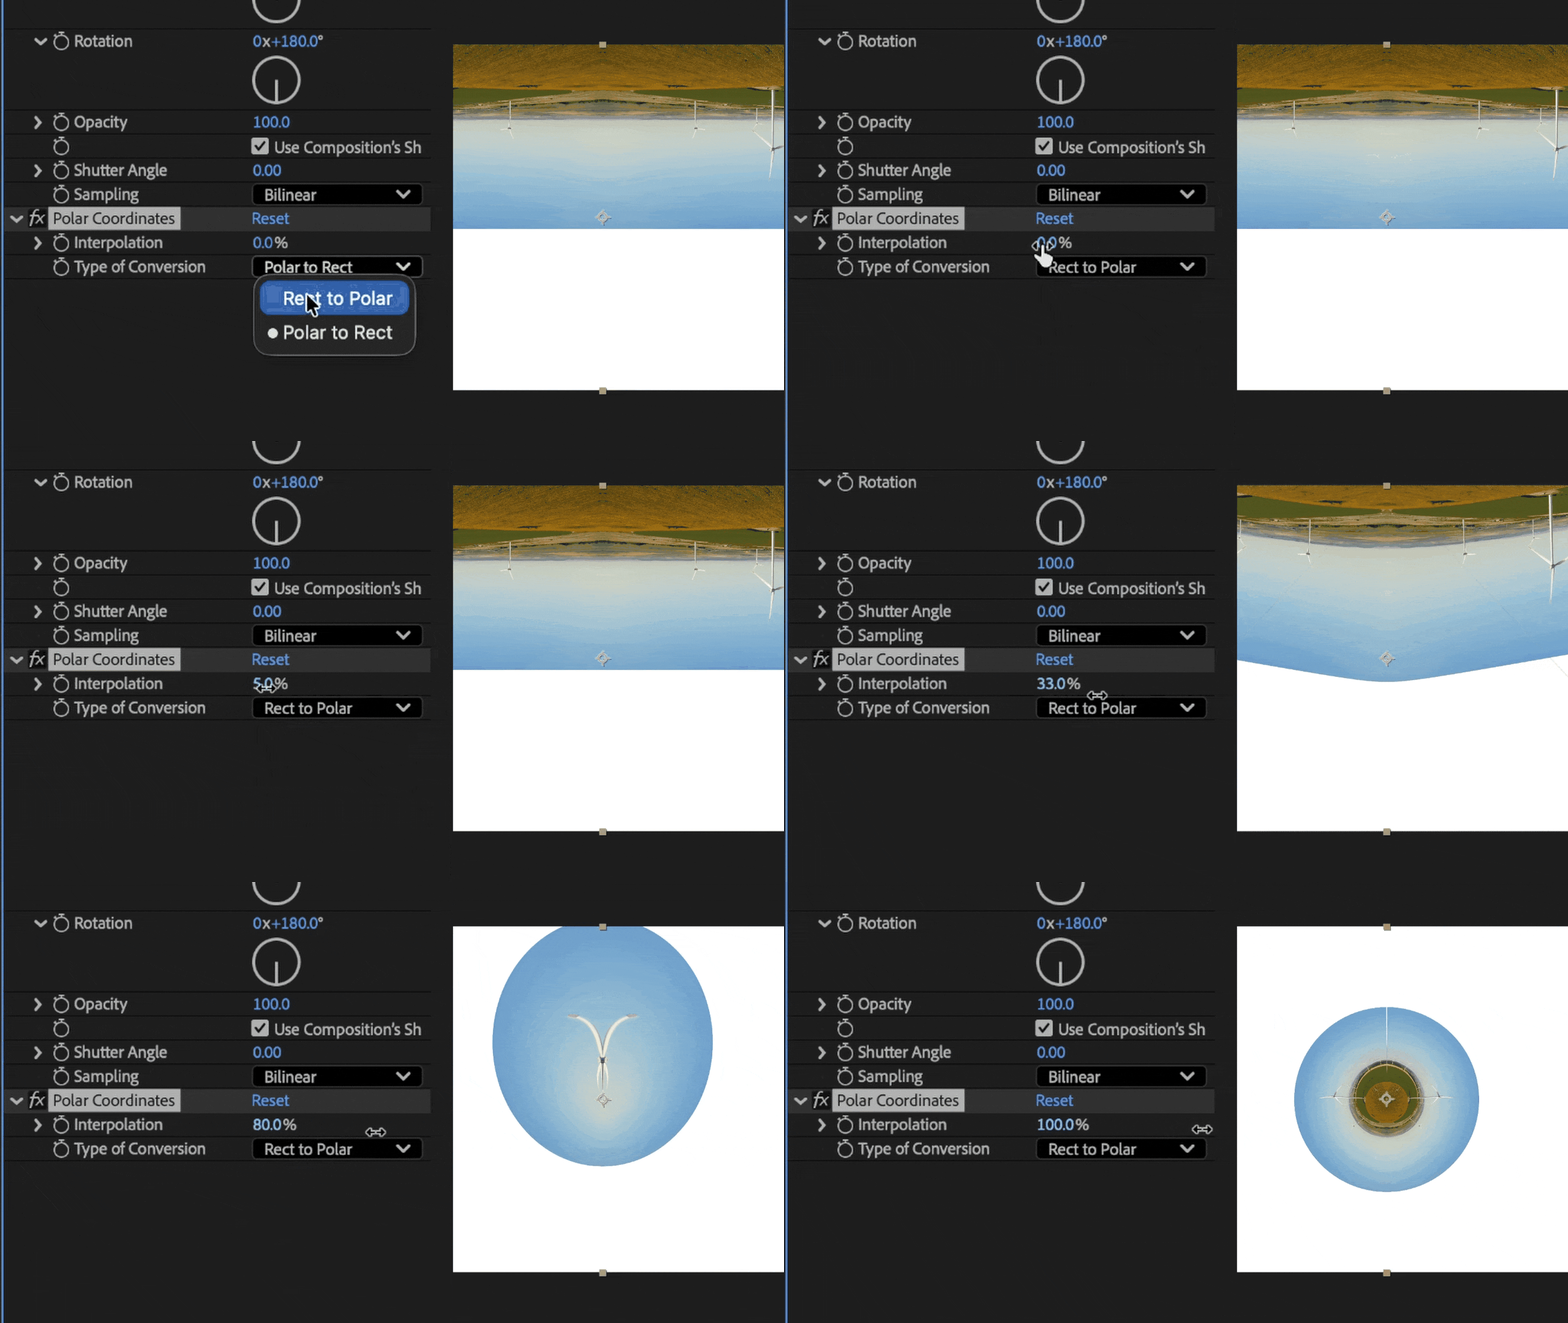
If you see a small white sliver in your sphere where the edges of your clips meet, just change the Interpolation to 99% and it will go away.
6. Adjust the size of your planet using the Field of View setting (optional)
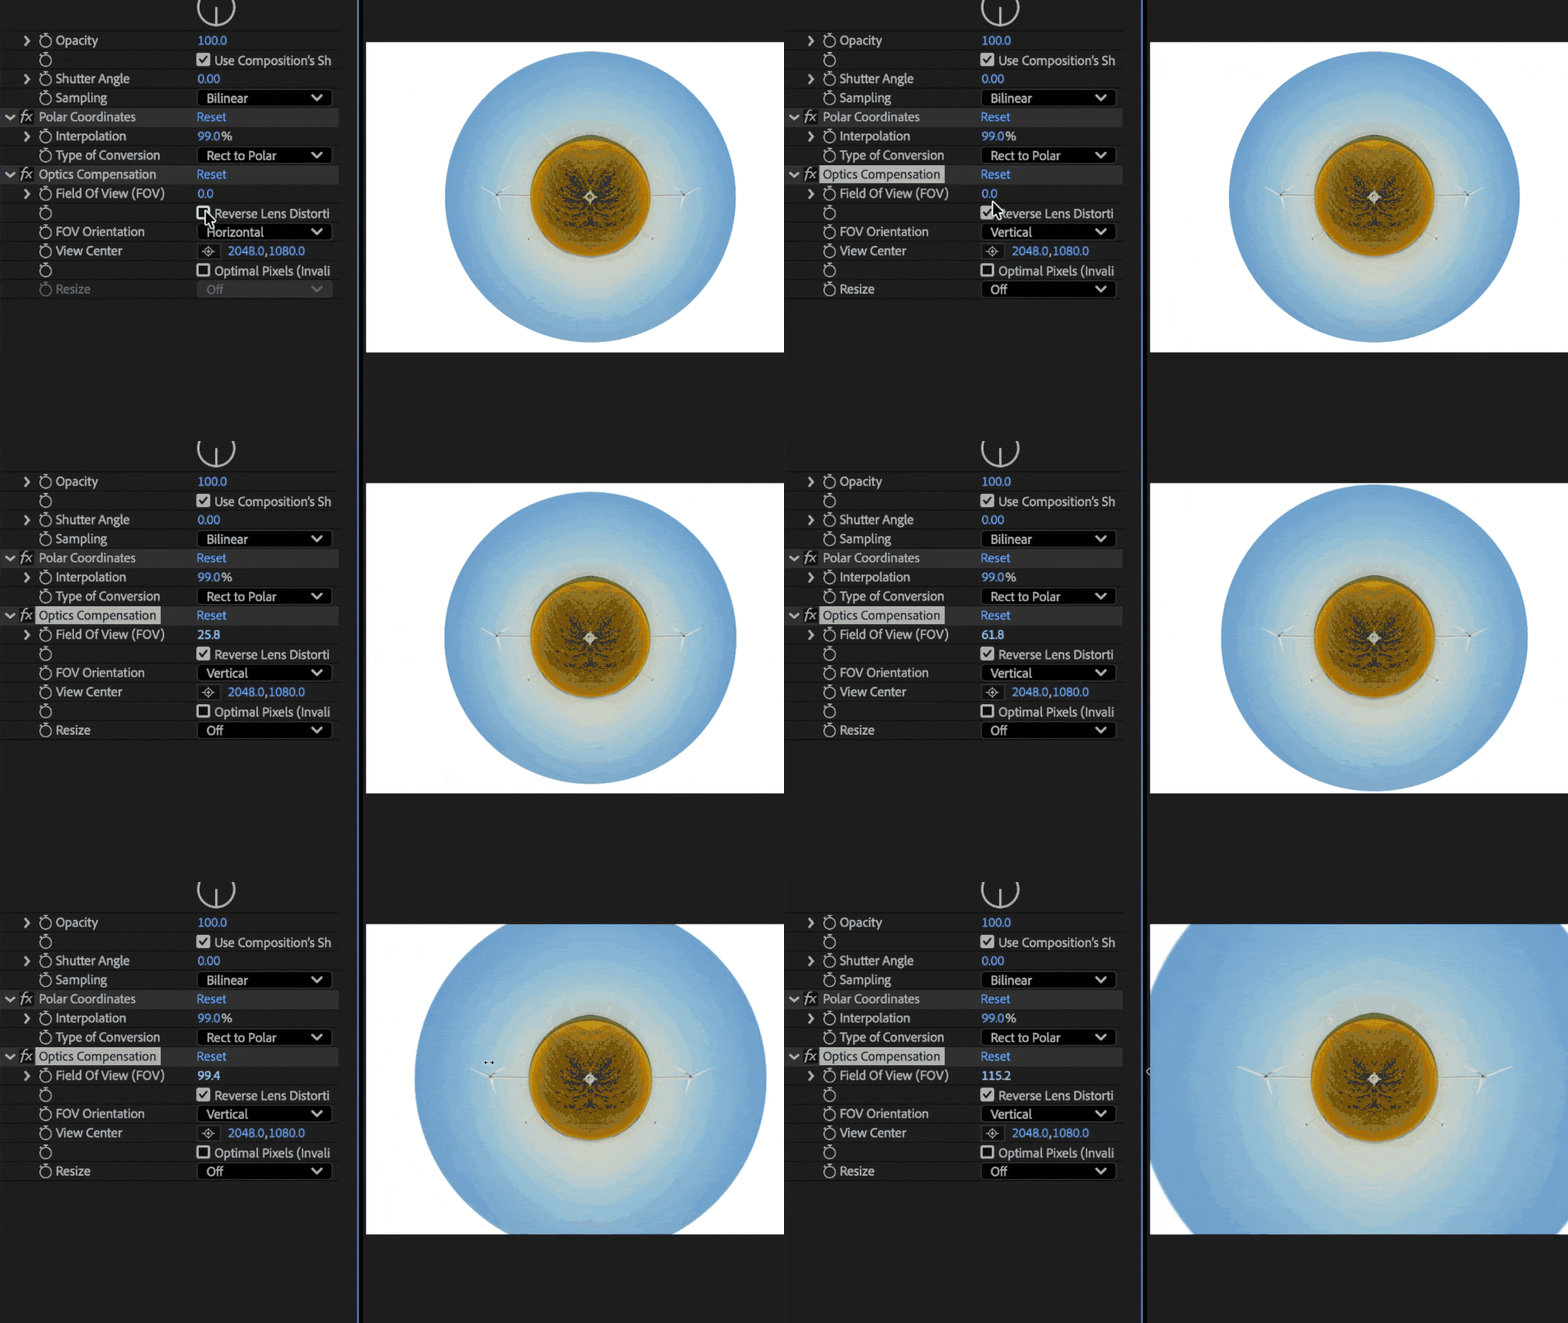
If you want to fill up the whole screen while maintaining the size of the “planet”, just add Optics Compensation, then check Reverse Lens Distortion. Finally, choose Vertical FOV Orientation and scale up the Field of View to fill the screen.
Voila – you’ve created a tiny planet!
How to create a music visualizer and kaleidoscope background
You can also build a kaleidoscope background using the polar coordinates effect in After Effects and simple duplication.
Apply Polar Coordinate effect exactly as we just did with the Tiny Planet, following steps 1-5 above.
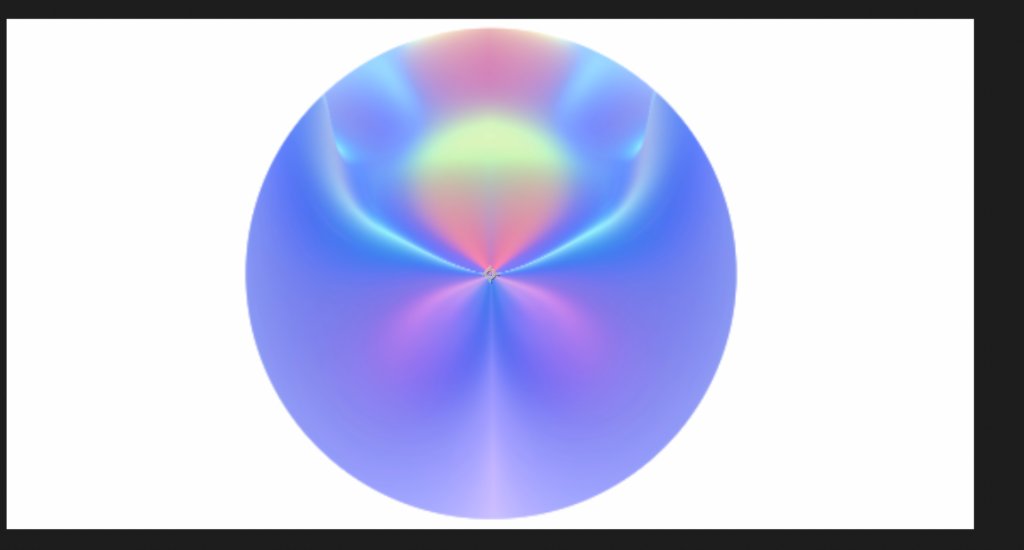
Then, add the CC Kaleida effect before Polar Coordinates for layered patterns.
The result feels complex, but the setup is pretty simple. This technique works well for title backgrounds and looping music visuals.
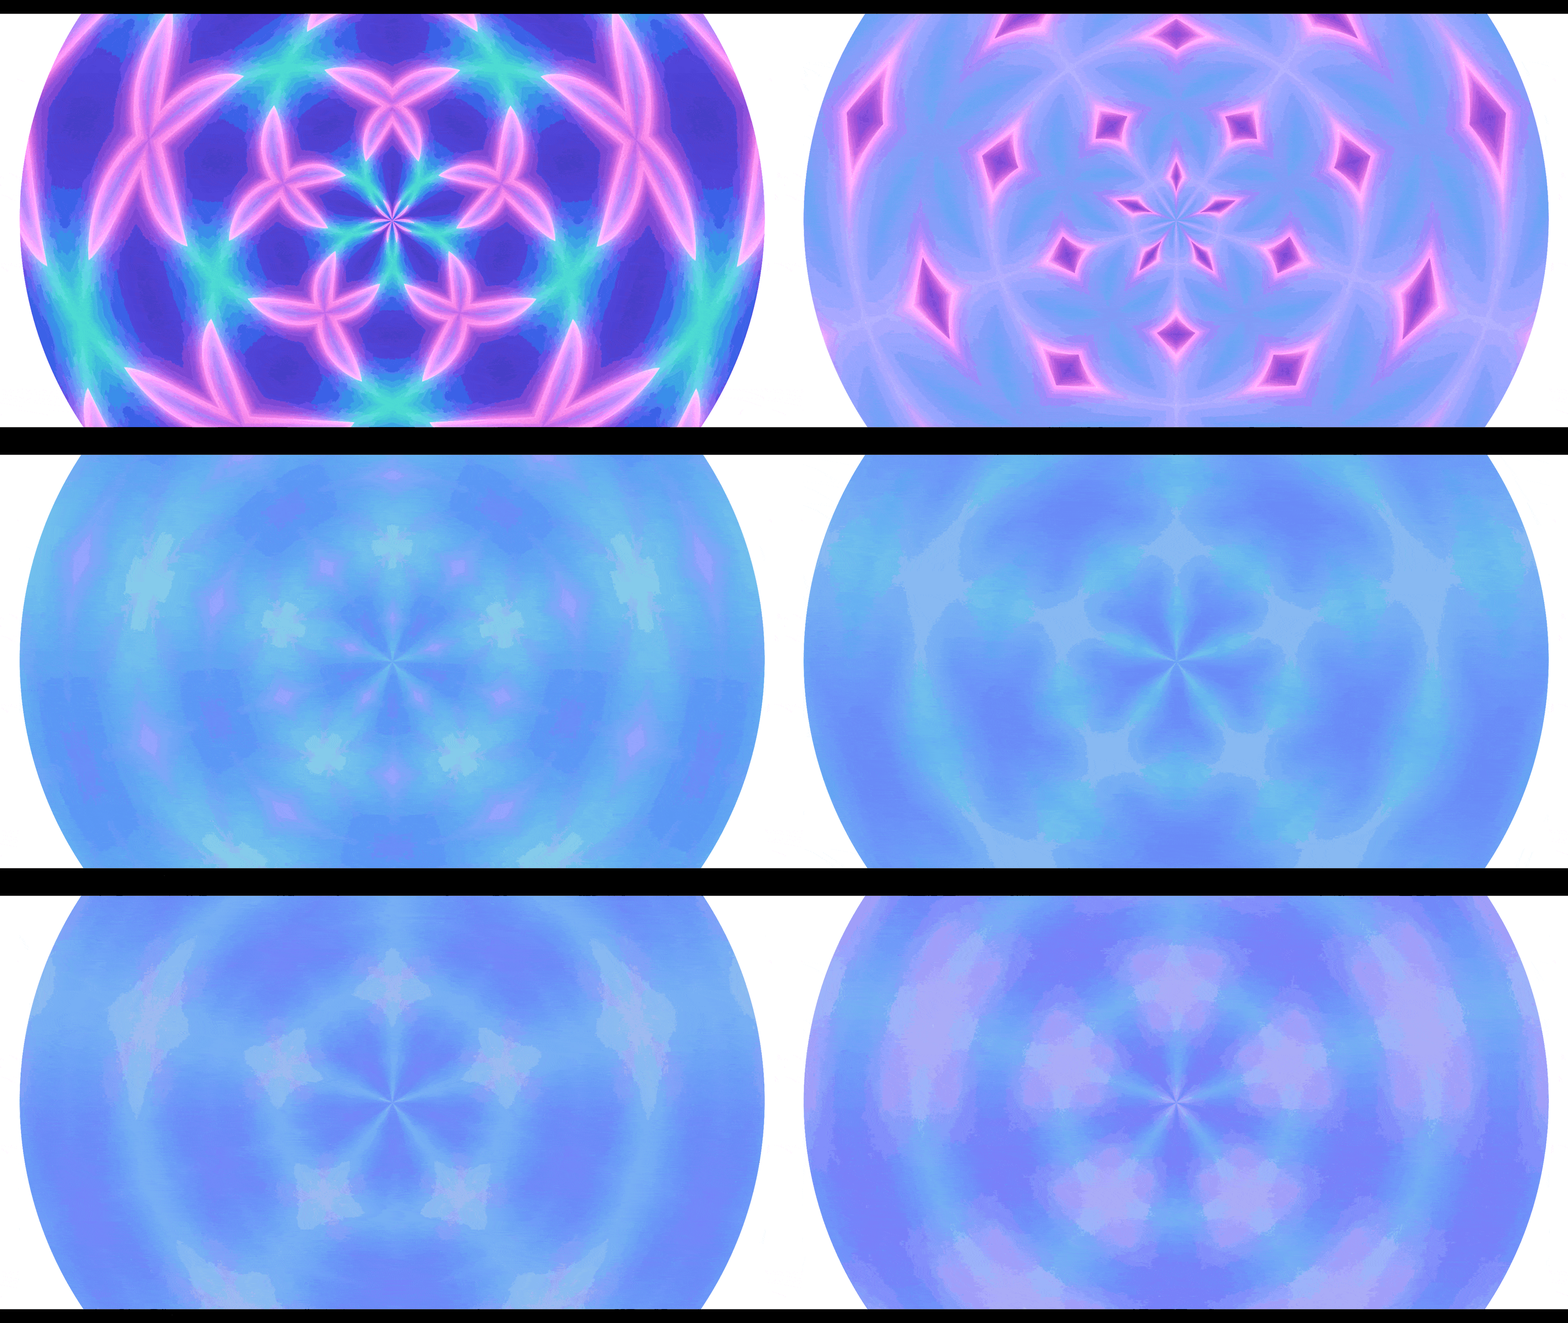
If you want to know how to create animated backgrounds in After Effects, check out our recent tutorial here.
Infinite tunnel effect
Now let’s talk about how we can use Polar Coordinates to create an infinite tunnel effect with an interesting looking footage clip.
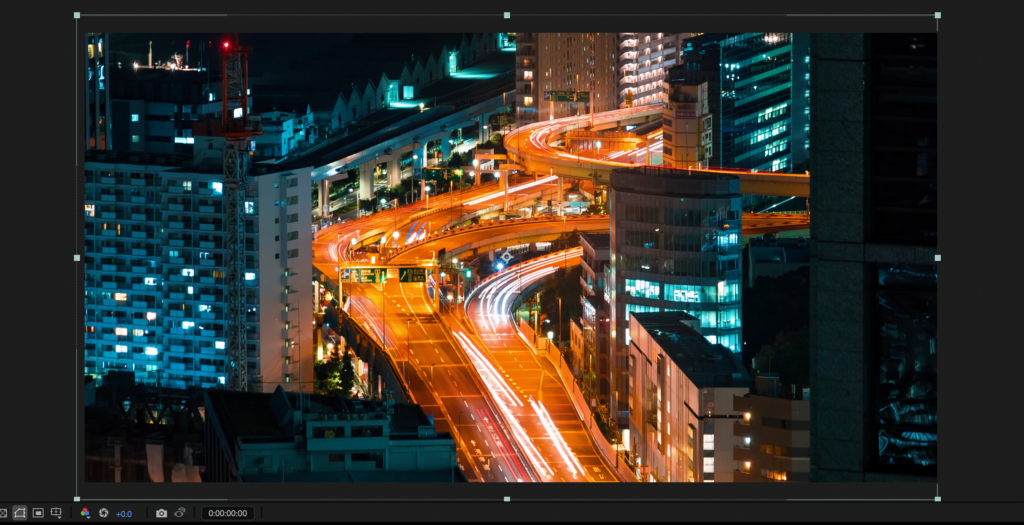
First, follow steps 1-5 from the tiny planet effect tutorial above. Then we’re going to set some keyframes when playing with the Optics Compensation Effect.
Then once you have created your tiny planet from your clip, apply the Optics Compensation effect. Next, set a keyframe once you’ve increased the FOV quite a bit. Then all you have to do is reduce the FOV amount and set a new keyframe.
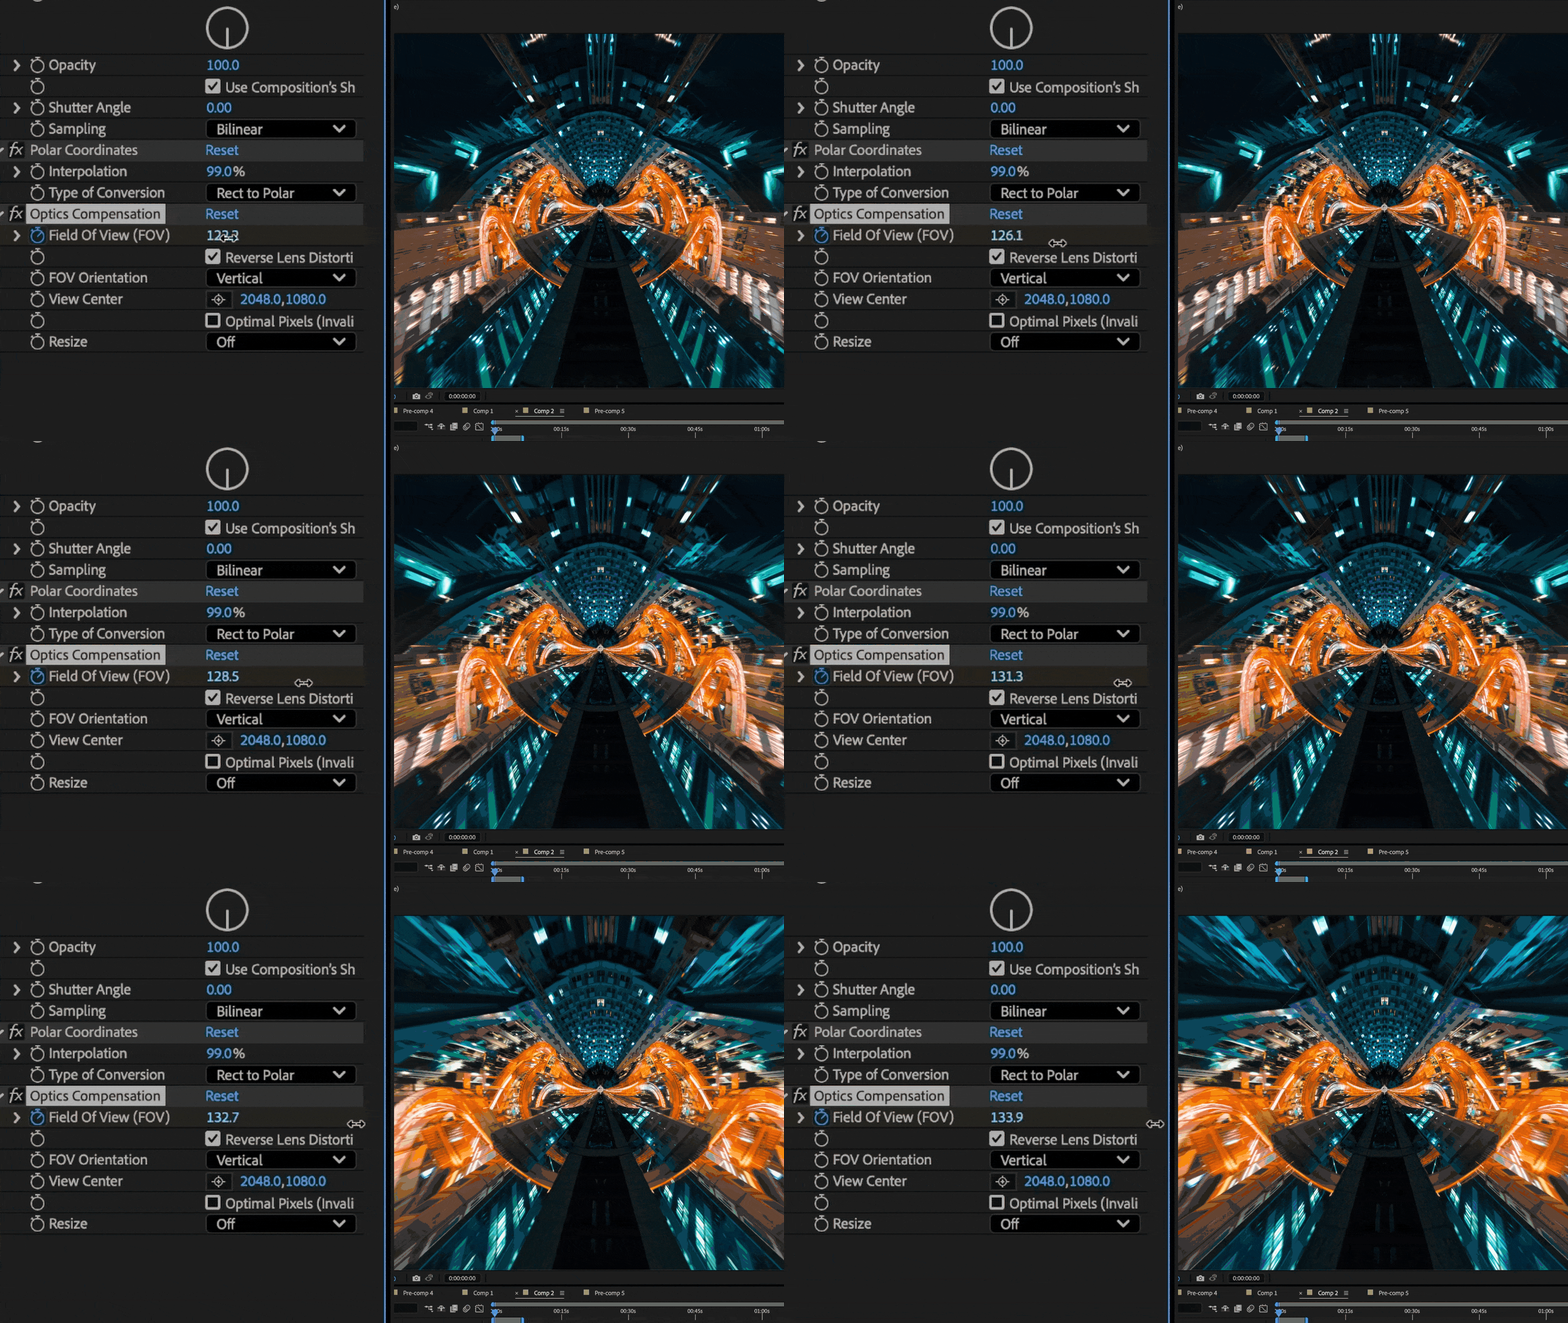
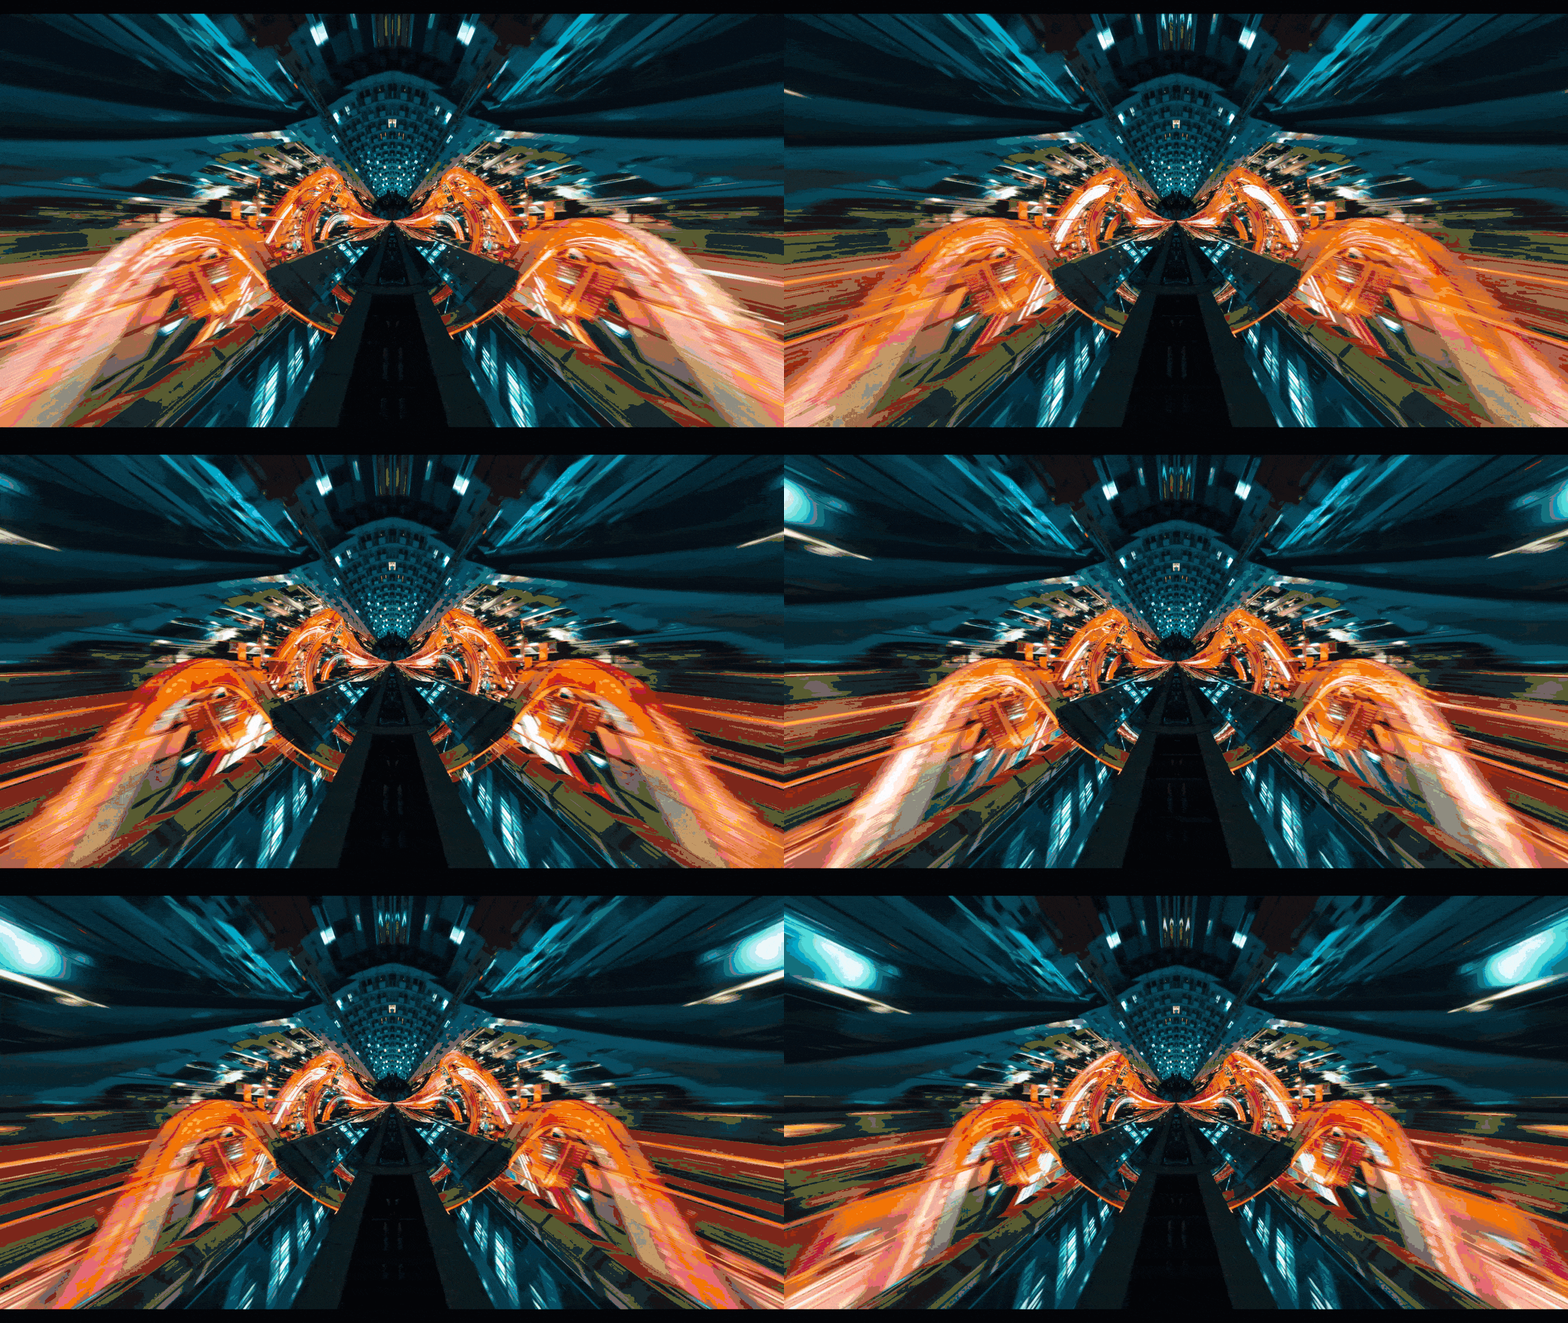
This animation creates a morphing tunnel effect. You can also add a subtle zoom to enhance the illusion of movement using keyframes and adding the Scale property under Transform. This effect makes the viewer feel like they’re being pulled forward through the center of the clip.
Combining Polar Coordinates with stock footage
The polar coordinates effect in After Effects becomes even more powerful when paired with high quality stock footage. Using professionally shot stock footage saves you valuable time while boosting production value. Instead of building textures from scratch, you can focus on transformation. With access to millions of clips, you can experiment freely and refine your style faster.
Aerial city footage works beautifully with the tiny planet effect or creating an infinite tunnel. Long streets and skylines wrap into detailed circular planets, while night city timelapses create glowing rings of light.
Urban aerial timelapse of downtown Los Angeles convention center, skyline and freeways with traffic at night.
Download NowAbstract light streak clips are also great for combining with polar coordinates, similar to the example used above. Their horizontal flow translates into smooth radial loops. Add Glow or Colorama to enhance the look.
Space backgrounds are perfect for making dramatic tunnel visuals. Star fields transform into cosmic vortexes, while nebula textures form swirling backdrops for sci fi graphics.
Tips for better results
The polar coordinates effect in After Effects works best with certain preparation steps. So for best results, make sure you’re following the tips below!
Use wide footage
First, I recommend you use wide footage with polar coordinates effects. The more horizontal information you have, the smoother the circular wrap looks.
Pre-compose your layers first
Secondly, you should always pre-compose your layers before applying the polar coordinates effect.
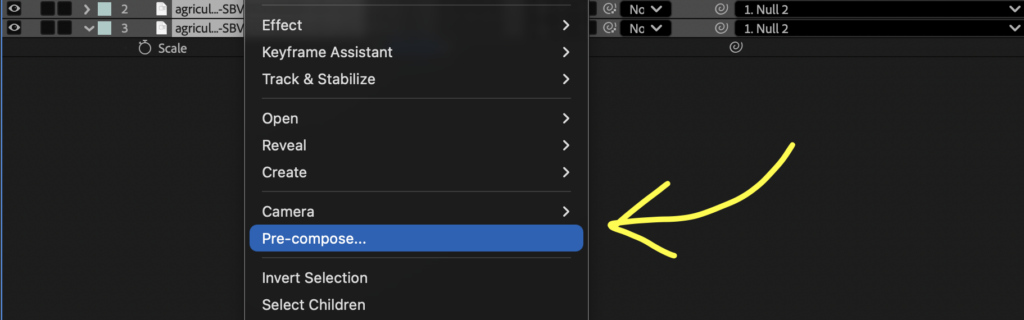
This keeps transformations clean and flexible.
Adjust anchor points carefully
Third, make sure you always adjust anchor points carefully. Small shifts can change the center alignment of your circle.
Be thoughtful when you combine effects
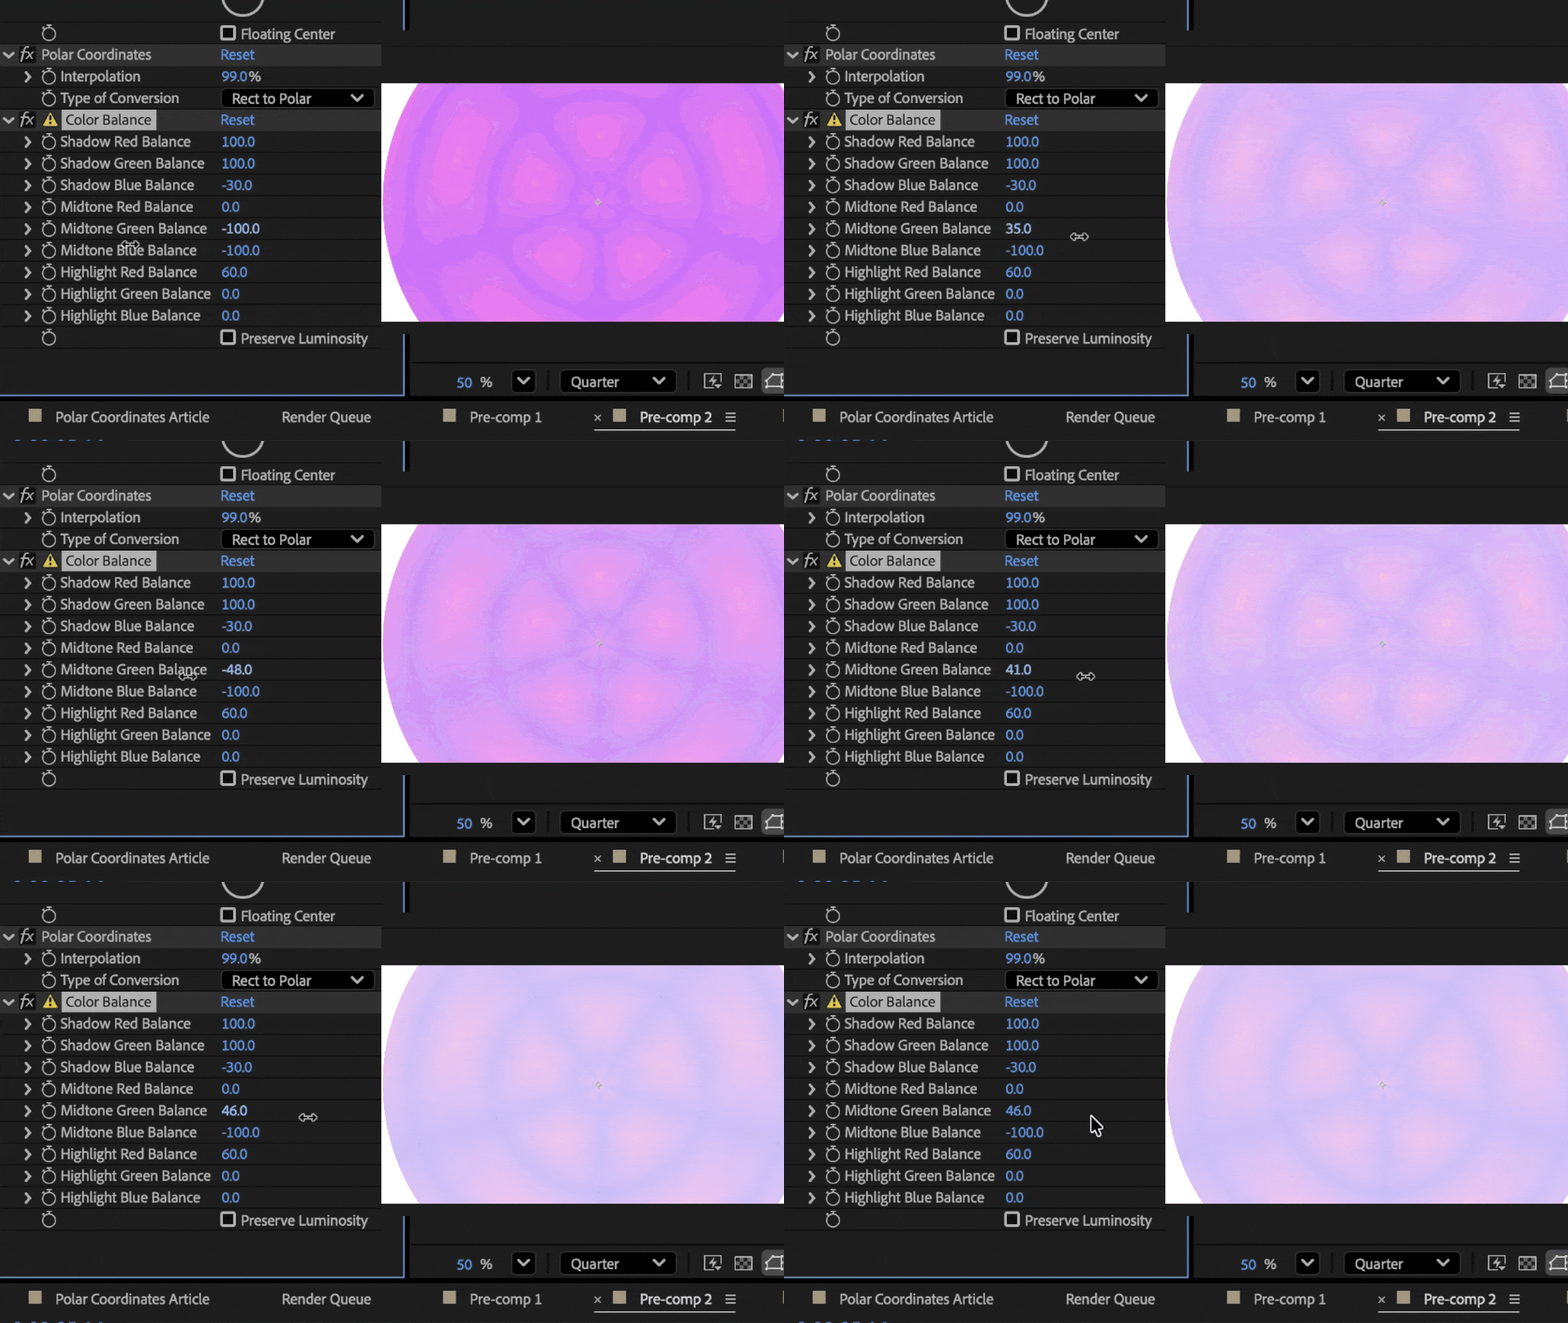
Fourth, you should combine effects thoughtfully. Effects like Blur, Glow, and Color Correction can amplify the radial design.
Play around with Interpolation
Finally, you’re missing out if you’re not experimenting with the Interpolation slider. Values between 0 and 100 percent create unique distortions. You don’t always need to keep it at 100 – try out different amounts and see what results you like. Have fun with it!
Bring your ideas to life with Storyblocks
Now you’ve learned how the polar coordinates effect in After Effects offers creative control with minimal setup. Try out different settings and combine it with different effects to see what cool results you can get with your new skills.
Creative effects stand out when you pair them with strong source footage. Storyblocks gives you unlimited downloads from our library of over 6 million assets. You get access to 8K, 4K, and HD footage, After Effects templates, music, images, sound effects, and so much more.
With flexible licensing and workflow tools, you can experiment freely and deliver polished results faster. Whether you are building a tiny planet, a music loop, or a cinematic city tunnel, the right footage makes all the difference. Explore our library to find the right assets for your project and sign up today to start downloading!