Like any creative software, keyboard shortcuts are a fundamental necessity that will increase your efficiency as a motion designer. In After Effects, there are many operations, functions, and tools that are readily accessible through a keyboard shortcut. With so many shortcuts, the idea of running through the various pop-up menus, drop-down boxes, or cycling through a specific function’s seem entirely unnecessary
The one downside is that with how many functions you can implement and adjust, the list of keyboard shortcuts almost feels endless. Even though I have been using After Effects since 2007, I don’t really know them all, but here’s the thing: you don’t have to learn every keyboard shortcut to become a more proficient motion graphics designer.
As we mentioned in our Premiere Pro shortcuts guide, you only need to memorize your most-used ones to speed up your workflow. Only later in your journey as a motion graphics designer will there be a need to learn more specialized keyboard shortcuts that fit your specific workflow. In this article, I’ll cover the essential After Effects keyboard shortcuts to know, plus other useful ones, along with how to customize your shortcuts for your editing workflow.
How to use keyboard shortcuts in After Effects
To get started, let’s open our keyboard shortcuts preferences. To do that all we need to do is go to Edit >Keyboard Shortcuts. And even that menu has its own keyboard shortcut – Control + Alt + ‘. But unless you plan on regularly customizing your shortcuts (more on that later), this one isn’t really worth memorising.
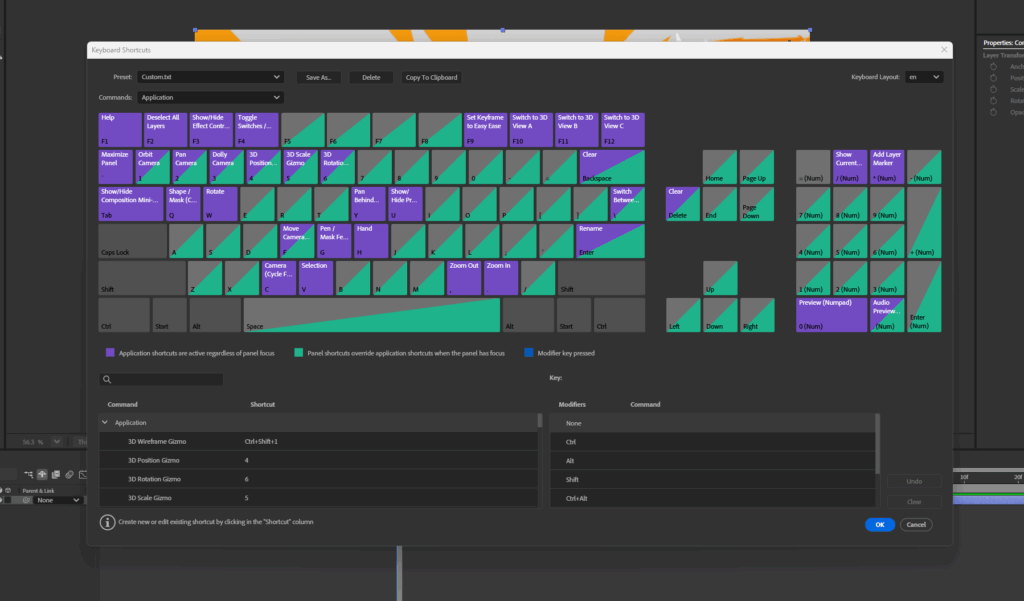
In the keyboard shortcuts control panel, we have a visualization of all current binding keys for After Effects. This is an active visualization, meaning if you were to press a key, it would appear highlighted within the menu.
If you were to press Shift, or Control, or even variations of Shift, Control, Alt combined, you can also see where other keys are bound when you’ve pressed one of these modifier keys. So, this gives you a great view as to what is currently in use and what is not in use.
With this, we can look at the keyboard shortcuts broken down into two sections: Application and Panel.
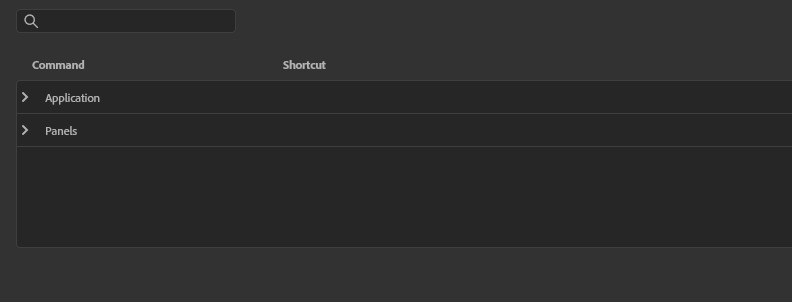
And if we toggle down the two dropdown menus, you’ll see that the keyboard shortcuts and the functions to which they can be applied are virtually endless.
If you’re feeling overwhelmed, don’t worry – you don’t need to learn them all! In the next section, I’ll break down some of the essential shortcuts that are worth learning first.
Your After Effects keyboard shortcuts guide
Composition shortcuts
These shortcuts specifically refer to actions that occur in the composition panel and work area. Given that you are going to be actively working here 99% of the time, it’s a good idea to get used to the shortcuts. We won’t list every shortcut available, as there’s a manual for that. But from my experience, here are some core shortcuts that you will use in almost every project.
Press Ctrl + K (Mac: Cmd + K) to quickly bring up your composition settings (resolution, frame rate, duration, etc.). This is useful to quickly adjust the length of the composition if you have underestimated how long your animation will be.
Zoom In/Out: Use the period (. or >) and comma (, or <) keys.
100% Magnification: Press the slash key (/) to change your magnification to 100% scale.
Fit to Viewer: Press Shift + / (Mac: Shift + /) to fit the comp to the viewer.
Fit Up to 100%: Press Alt + / (Mac: Opt + /) to fit the zoom up to 100% (it won’t scale beyond 100% resolution). It’s worth noting that this is a better option than the 100% magnification / shortcut, as I find that placing the composition at 100% magnification is slightly claustrophobic.
Cycle resolution:
| Command | Windows | Mac |
| Full Resolution | Ctrl + J | Cmd + J |
| Half Resolution | Ctrl + Shift + J | Cmd + Shift + J |
| Quarter Resolution | Ctrl + Alt + Shift + J | Cmd + Opt + Shift + J |
| Send to Render Queue (a must learn) | Press Ctrl + M | Cmd + M |
| Hide/Show Overlays | Ctrl + Shift + H | Cmd + Shift + H |
| Toggle Rulers | Ctrl + R | Cmd + R |
| Toggle Title/Action Safe and Crosshair | ‘ | ‘ |
For Toggle Rulers, keep in mind that if you have added ruler lines to the composition, you still have to manually remove them after toggling this function off.
Timeline shortcuts
These keyboard shortcuts are useful for easing your way through the properties of the composition, but it’s within the After Effects timeline. Let’s run through the memory worthy keyboard shortcuts here.
| Command | Windows | Mac |
| Set Work Area Beginning | B | B |
| Set Work Area End | N | N |
| Select All Layers | Ctrl + A | Cmd + A |
| Deselect All Layers | Ctrl + Shift + A | Cmd + Shift + A |
| Zoom In/Out | Plus (+) and Minus (-) | Plus (+) and Minus (-) |
| Center Playhead in Timeline | D | D |
| Go to Specific Time | Alt + Shift + J | Opt + Shift + J |
| Move Playhead One Frame | Page Up or Page Down (or Ctrl + Left Arrow / Right Arrow) | Page Up or Page Down (or Cmd + Left Arrow / Right Arrow) |
| Go to Timeline Start | J | J |
| Go to Timeline End | K | K |
Layer shortcuts
Now, what are timelines built off? That’s right, layers. So here are a few quick ways to add common layer types to your timeline.
| Command | Windows | Mac |
| New Solid Layer | Ctrl + Y | Cmd + Y |
| New Adjustment Layer | Ctrl + Alt + Y | Cmd + Opt + Y |
| New Null Object | Ctrl + Alt + Shift + Y | Cmd + Opt + Shift + Y |
| New Camera | Ctrl + Alt + Shift + C | Cmd + Opt + Shift + C |
| New Light | Ctrl + Alt + Shift + L | Cmd + Opt + Shift + L |
Layer Property shortcuts
With each layer, we can manipulate its properties. This is, after all, the core of animating layers. Here are a handful of incredibly useful keyboard shortcuts that get you straight to adjusting these properties.
| Command | Windows | Mac |
| Reveal Anchor Point | A | A |
| Reveal Position | P | P |
| Reveal Rotation | R | R |
| Reveal Scale | S | S |
| Reveal Opacity/Transparency | T | T |
| Reveal Masks | M | M |
| Reveal All Mask Properties | Double-tap M | Double-tap M |
| Reveal Mask Feather | F | F |
| Reveal All Keyframed Properties | U | U |
| Reveal All Modified Properties | Double-tap U | Double-tap U |
| Reveal Expressions | Double-tap E | Double-tap E |
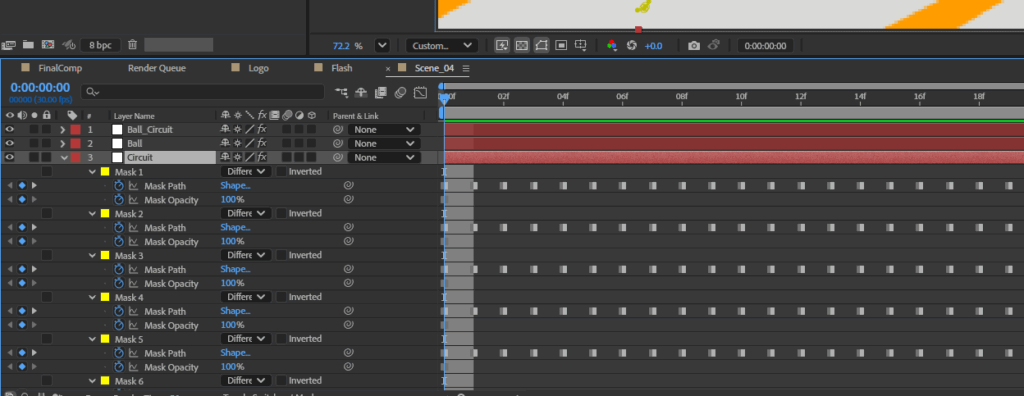
The keyboard shortcuts listed below are more on the advanced side of layer operations. However, when you start working with a timeline that has a dozen or more layers, these shortcuts will make navigating a crowded space a much more pleasant experience.
| Command | Windows | Mac |
| Trim Layer In Point to Playhead | Alt + [ | Opt + [ |
| Trim Layer Out Point to Playhead | Alt + ] | Opt + ] |
| Move Layer In Point to Playhead | [ | [ |
| Move Layer Out Point to Playhead | ] | ] |
| Reorder Layer Down | Ctrl + [ | Cmd + [ |
| Reorder Layer Up | Ctrl + ] | Cmd + ] |
| Send Layer to Bottom | Ctrl + Shift + [ | Cmd + Shift + [ |
| Send Layer to Top | Ctrl + Shift + ] | Cmd + Shift + ] |
| Split Layer at Playhead | Ctrl + Shift + D | Cmd + Shift + D |
Keyframe shortcuts
To animate a layer, you would need to set a keyframe. And as you may have guessed by the heading title, there are also shortcuts related to the keyframes.
| Command | Windows | Mac |
| Easy Ease | Select keyframe(s) and press F9 | Select keyframe(s) and press F9 |
| Easy Ease In | Select keyframe(s) and press Shift + F9 | Select keyframe(s) and press Shift + F9 |
| Easy Ease Out | Select keyframe(s) and press Ctrl + Shift + F9 | Select keyframe(s) and press Cmd + Shift + F9 |
| Jump to Graph Editor | Shift + F3 | Shift + F3 |
| Add Transform Property Keyframe | Alt + Shift, then press the property’s key | Opt + Shift, then press the property’s key |
Tool shortcuts
The tools in the top section of After Effects are your primary tools. At least one of these will be active no matter what task you are performing within After Effects, and they all adjust how your mouse interacts with the composition.
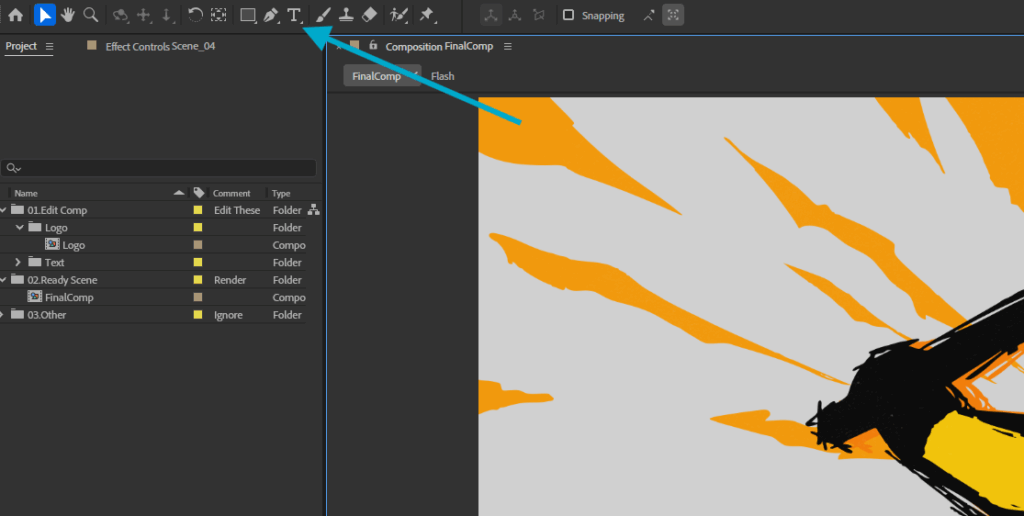
For example, the Hand Tool allows you to move around the composition without adjusting the position of any layers. However, if the Pen Tool were active and you did the same thing, you would start drawing a path (or creating a mask).
Given that you will be switching between these constantly, it’s worth getting to know these shortcuts so you can work faster.
| Command | Windows | Mac |
| Selection Tool | V | V |
| Hand Tool | H (or hold down Spacebar) | H (or hold down Spacebar) |
| Zoom Tool | Z | Z |
| Rotation Tool | W | W |
| Pan Behind/Anchor Point Tool | Y | Y |
| Shape Tools (cycles through) | Q | Q |
| Pen Tool (cycles through) | G | G |
| Text Tool | Ctrl + T | Cmd + T |
Bonus shortcuts
And finally, we have two shortcuts that don’t fit into any of the above categories, but I find them equally valuable for my day-to-day After Effects work
Rename: Simply select a layer or any item that can be renamed (layers, project panel items, effect controls, shape groups, etc.) and press Enter (Mac: Return). Rename the file. Then hit Enter again to save the name.
Maximize Panel: Press the Tilde key (~ or `), which is usually right underneath the Escape key, to maximize whichever panel your mouse is currently over.
For whatever reason, After Effects doesn’t have a fullscreen mode, so hovering over the composition panel, pressing the Tilde key, and then increasing the view to maximum fit gives you a somewhat fullscreen preview.
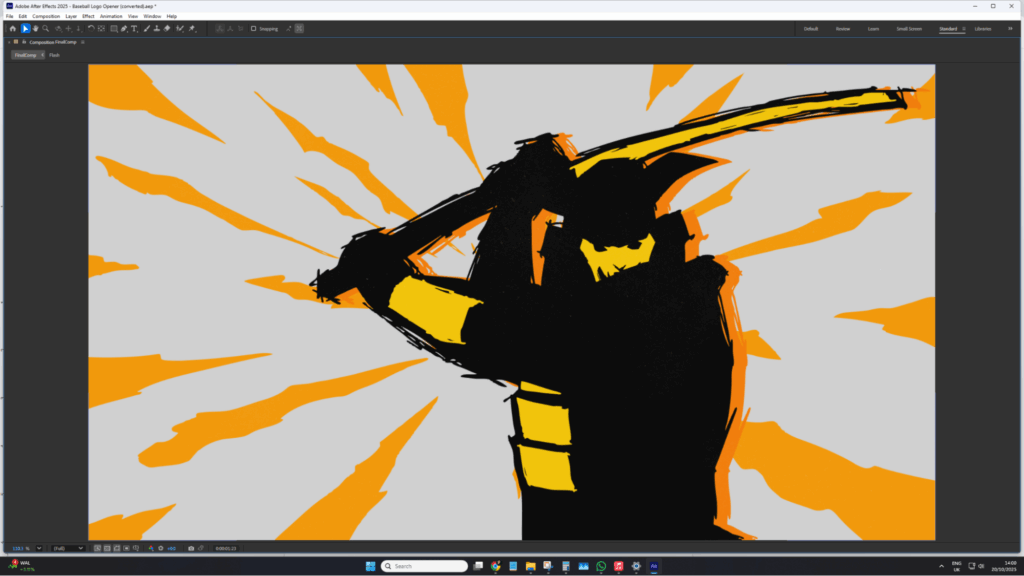
How to customize shortcuts in After Effects
While these are just a handful of the multitude of default keyboard shortcuts in After Effects, they’re highly customizable. In fact, every single shortcut can be changed to a different binding that you see fit.
For example, I’m a DaVinci Resolve editor first and foremost. So one keyboard shortcut ingrained in my soul is pressing Z to revert the view and monitor to a 100% fit. Although After Effects has its own dedicated shortcut for this, I prefer to keep them the same because of how often I press that single button when working across both applications.
To do this, go to Edit > Keyboard Shortcuts. Within the pop-up menu, use the search bar to find the designated action. In this case it’s “Fit.” Then, change it to the desired shortcut. Here, I’m changing it to Z to create consistency across both software.
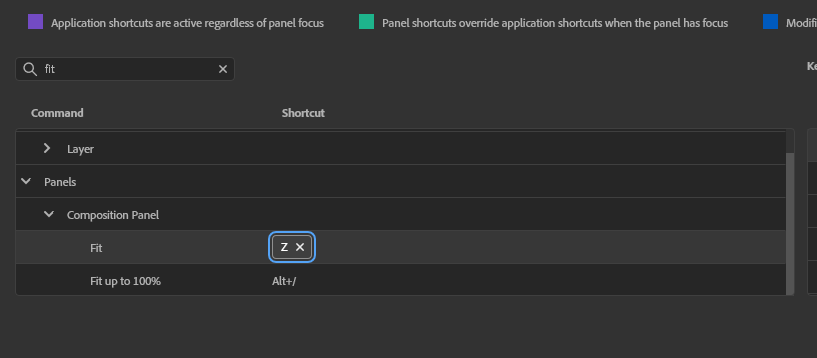
While most After Effects operations will be unique to the program, you can do this to any binding you choose! The goal of these keyboard shortcuts is to improve your efficiency and complete tasks faster than you would by clicking through menus and icons.
However, do remember, that if you’re new to After Effects and start adjusting the keyboard shortcuts, you may find yourself lost in translation when following tutorials and guides. In that case, I’d recommend limiting the number of customizations you do to your shortcuts until you’re fully versed with the software.
Create faster in After Effects with shortcuts and templates
Now that you’re familiar with the essential shortcuts in After Effects, try them out the next time you’re working on a project. It’ll take time to remember them all, but once you start getting the hang of using them, they’ll eventually become muscle memory that helps you work faster and more efficiently.
If you want to take a step further and increase your workflow even more, explore the thousands of pre-made After Effects templates in the Storyblocks library. You’ll find templates for opening titles, transitions, slideshows, typography, and more, to help you to hit the ground running with projects of all kinds. Sign up today to get unlimited downloads of over 10 million royalty free, high quality stock assets, and open up a world of creative possibilities.